After countless days of procrastination I finally completed this! There were a few disasters that happened near the finish that delayed the completion of this kit though.
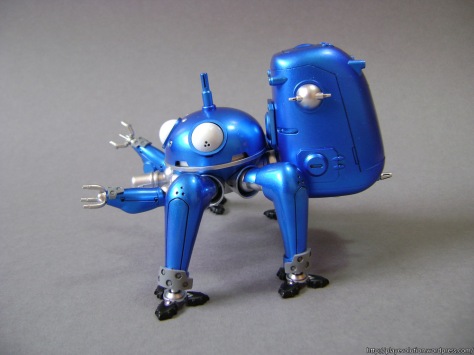
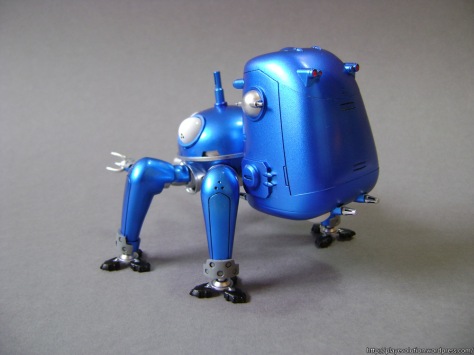
Overall views.
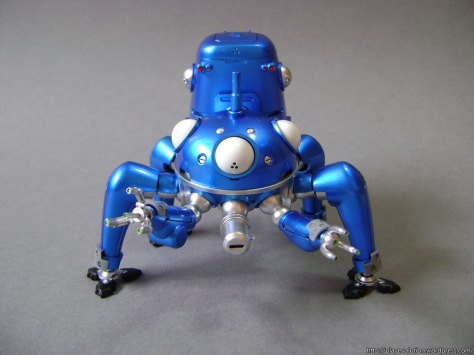
Close-up of the body. Each ‘eyeball’ is on a ball joint and can rotate to simulate the movement of the eyes.
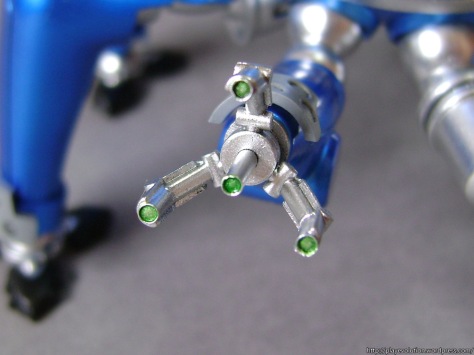
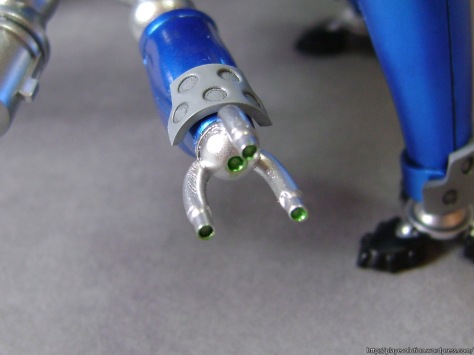
The tips of the manipulator arms were painted clear green.
Feet.
Remaining parts – grenade launcher with cover removed, minigun, replacement feet in wheel mode. There is also a small figure of Kusanagi Motoko but I didn’t bother with it. It’s very similar to some of the old HG 1/100 Gundam kits.
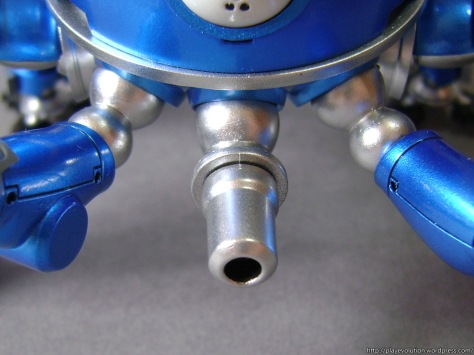
The snout I have decided to keep on is the covered grenade launcher.
Grenade launcher with cover removed.
Minigun snout.
Here’s a look at the feet in wheel mode. Unfortunately I mixed the parts up and the pegs for the wheels are too short to stay firmly in place so that means I can’t keep all its feet on wheels.
Forgot to attach pictures of the box in the beginning so I put it here instead.
Runners. The molded colors were slightly yellowish than I liked.
As usual, the work process:
- Assembly and removal of nubs, seam lines and other imperfections
- Primed with Tamiya Fine Surface Primer (link for pictures of the kit assembled and primed respectively)
- Painted all parts black except the eyes and the limb guard things which were painted white and gray respectively
- Required black parts were painted silver except the minigun snout which was painted gun metal (link)
- Parts which were to be blue were painted clear blue
- Painted details with clear green (manipulator arms), flat black (tires), clear red over reflective tape (tail lights)
- Panel line wash
- Top coated with Super Clear Gloss UV Cut
- Reassembly
My color guide:
- Eyes: White
- Silver parts: (G) Star Bright Silver over Black
- Blue parts: Clear Blue over (G) Star Bright Silver over Black
- Minigun: (G) Gun Metal
- Gray parts: White + Neutral Gray
- Green sensors: Clear Blue + Clear Yellow over (G) Star Bright Silver
- Tail lights: (T) X-27 Clear Red over reflective silver tape
- Tires: Flat Black
- Panel line wash: (T) X-1 Black
All colors used are Mr. Color unless specified: G = Gaia Color, T = Tamiya Enamel X- series
The painting style is nearly identical to my Sinanju.
So… Disasters. Lots of them. The first few were mentioned here. Then I messed up the tail lights. Also while cutting the silver tape for the tail lights my art knife scratched the painted surface. On my second attempt using enamel paint, I may have thinned the paint more so I managed to get a better finish. While top coating the parts, some of the wet parts fell onto my desk resulting in dust sticking to the surface or simply ruining the paint.
The biggest disaster/take-home lesson? Never attempt to reassemble parts which were just dried even if it is highly tempting to do so. The paint did not cure yet and I ruined it simply by applying force. On the bright side most of the damaged areas were in less visible locations.
I ran into this kit after trying to look for a completed Tachikoma, and it happened that a few weeks ago, the Nendoroid Tachikoma was announced to be re-released. I thought of giving up this kit and getting the Nendoroid instead. Now that I’ve finished it, I might end up with another Tachikoma sometime in the future. Oh well.
With this out of the way, I might unfortunately not work on a new project soon. I’m trying to get a job now because I’m going to be spending a truckload of money this vacation. I’m also at a loss for what to build next – my brother suggested going automobile, and I’m not incredibly tempted by any gunpla kits.








Cooo… nicely done the paint applications.
No gunpla kits that interests you? How about an RG? XD
Thing is if I want to paint a gunpla kit I have this obsessive-compulsive urge to make sure it is a 1/100. If I get an RG, I feel like just building it without paint, but then it feels like a waste because I could have painted it.
Make an army of Tachikoma, like in the anime! XD
Hmm I don’t think I’d want to build this kit again heh 😛
very nice finish bro!
can see the bling effect on every photos ^^
Thanks! I just copied what I did for my Sinanju hehe